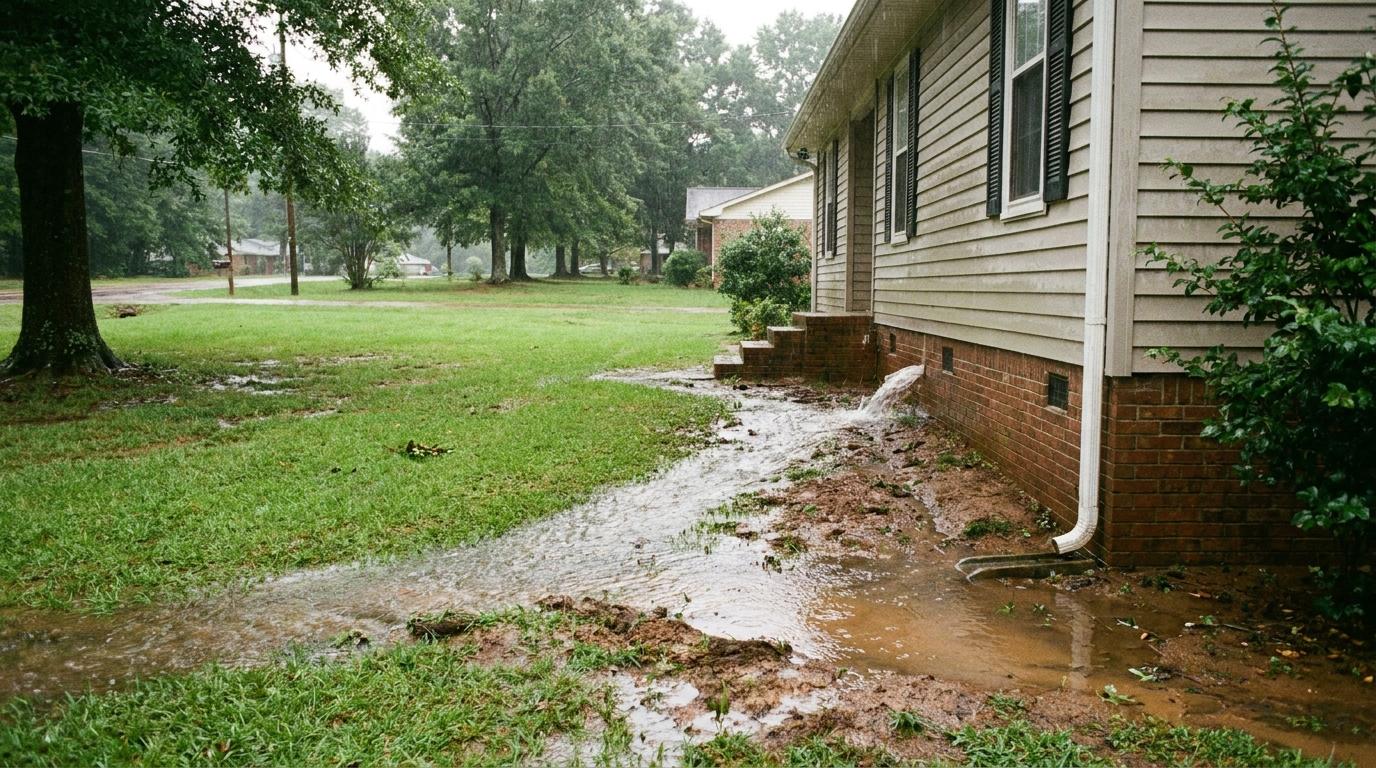
Water pooling around your foundation is a ticking time bomb that undermines your home’s structural integrity. In Mississippi, where summer storms can dump three inches of rain in a short period of time, and expansive clay soils can wreak havoc on foundations, a French drain is often the difference between a dry, stable home and costly foundation damage.
The good news? With careful planning and the right approach, installing one yourself may be achievable for experienced DIYers. After 15 years of helping Mississippi homeowners protect their foundations, Superior Foundation Services knows what works in our unique soil conditions.
This comprehensive guide covers every critical step, from planning your drainage route to connecting the outlet, so you can keep water where it belongs: far away from your foundation.
Materials and Tools Checklist
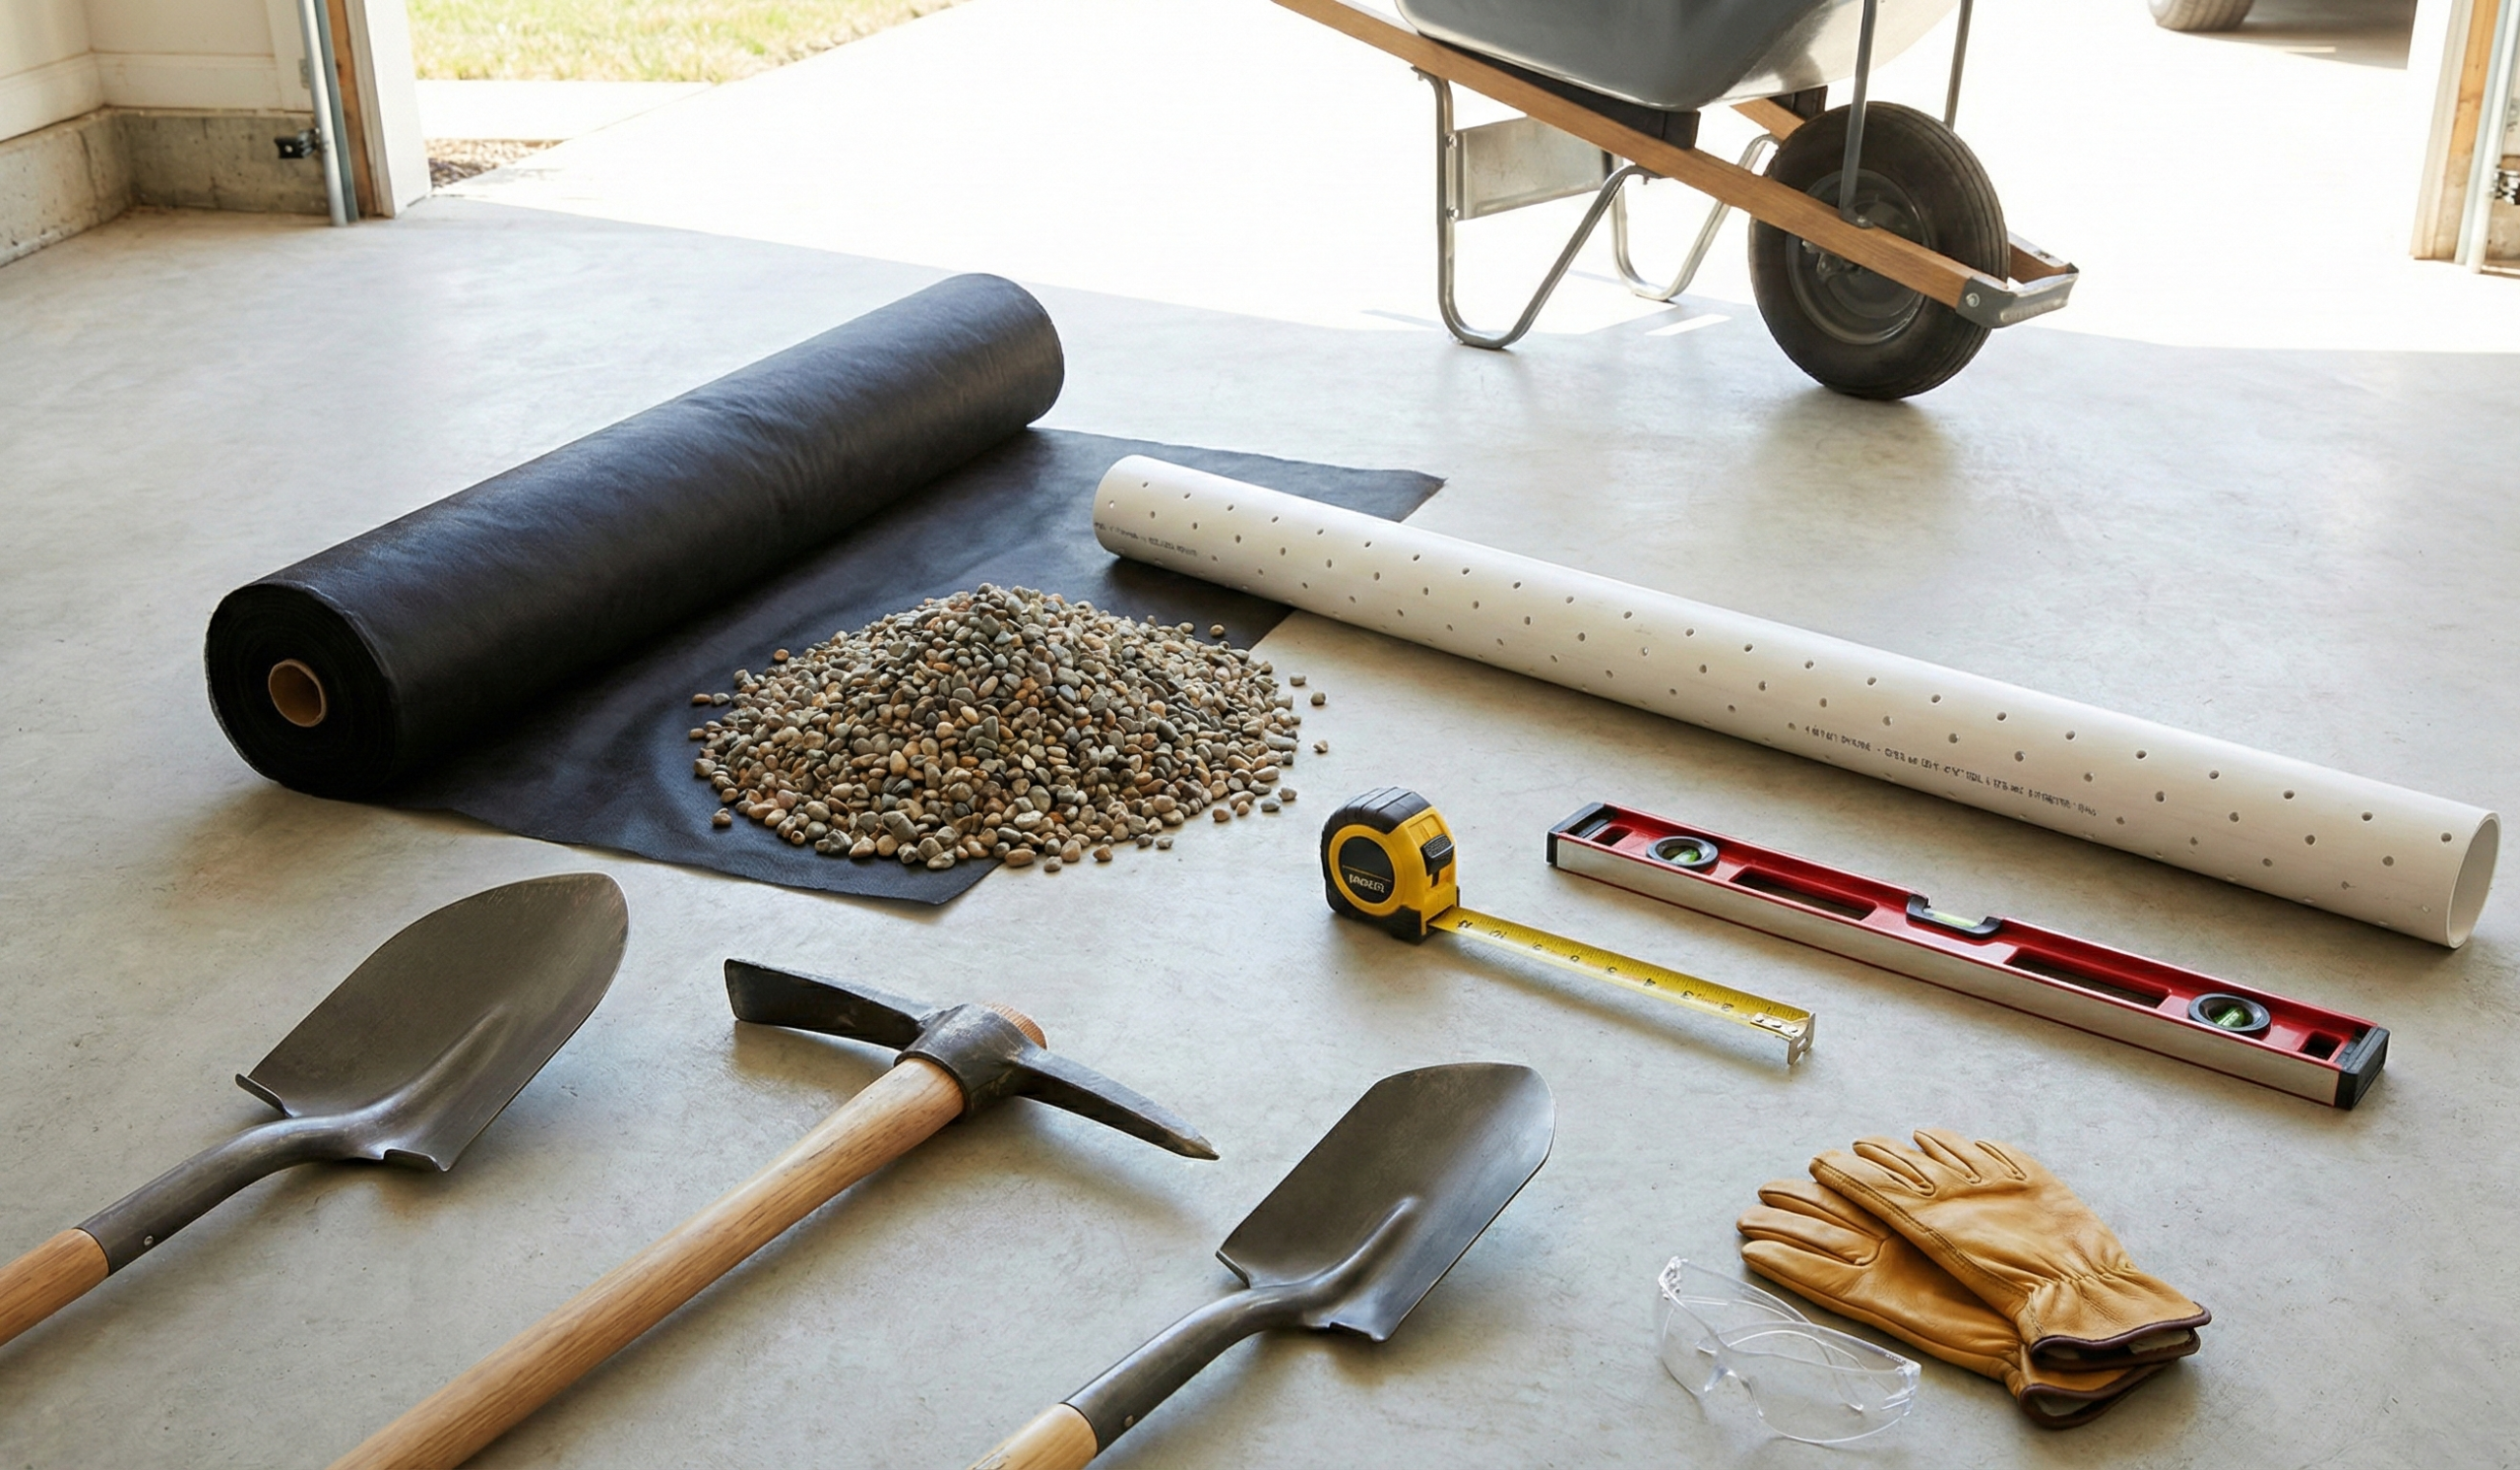
Before you break ground, gather everything you’ll need.
- 4-6 in. perforated PVC pipe or corrugated pipe with filter fabric
- Landscape fabric (non‑woven) to wrap the pipe
- ½-3/4 in. washed gravel
- Shovel, pickax, and trenching shovel
- Level and tape measure
- Wheelbarrow or tractor for hauling
- Drainage outlet (dry well, storm sewer connection, or daylight)
- Optional: geotextile socks, riser caps
The Installation Process: 7 Essential Steps
Installing a French drain requires precision and patience. Follow this proven process to ensure water flows away from your foundation.
Step 1: Plan the Route
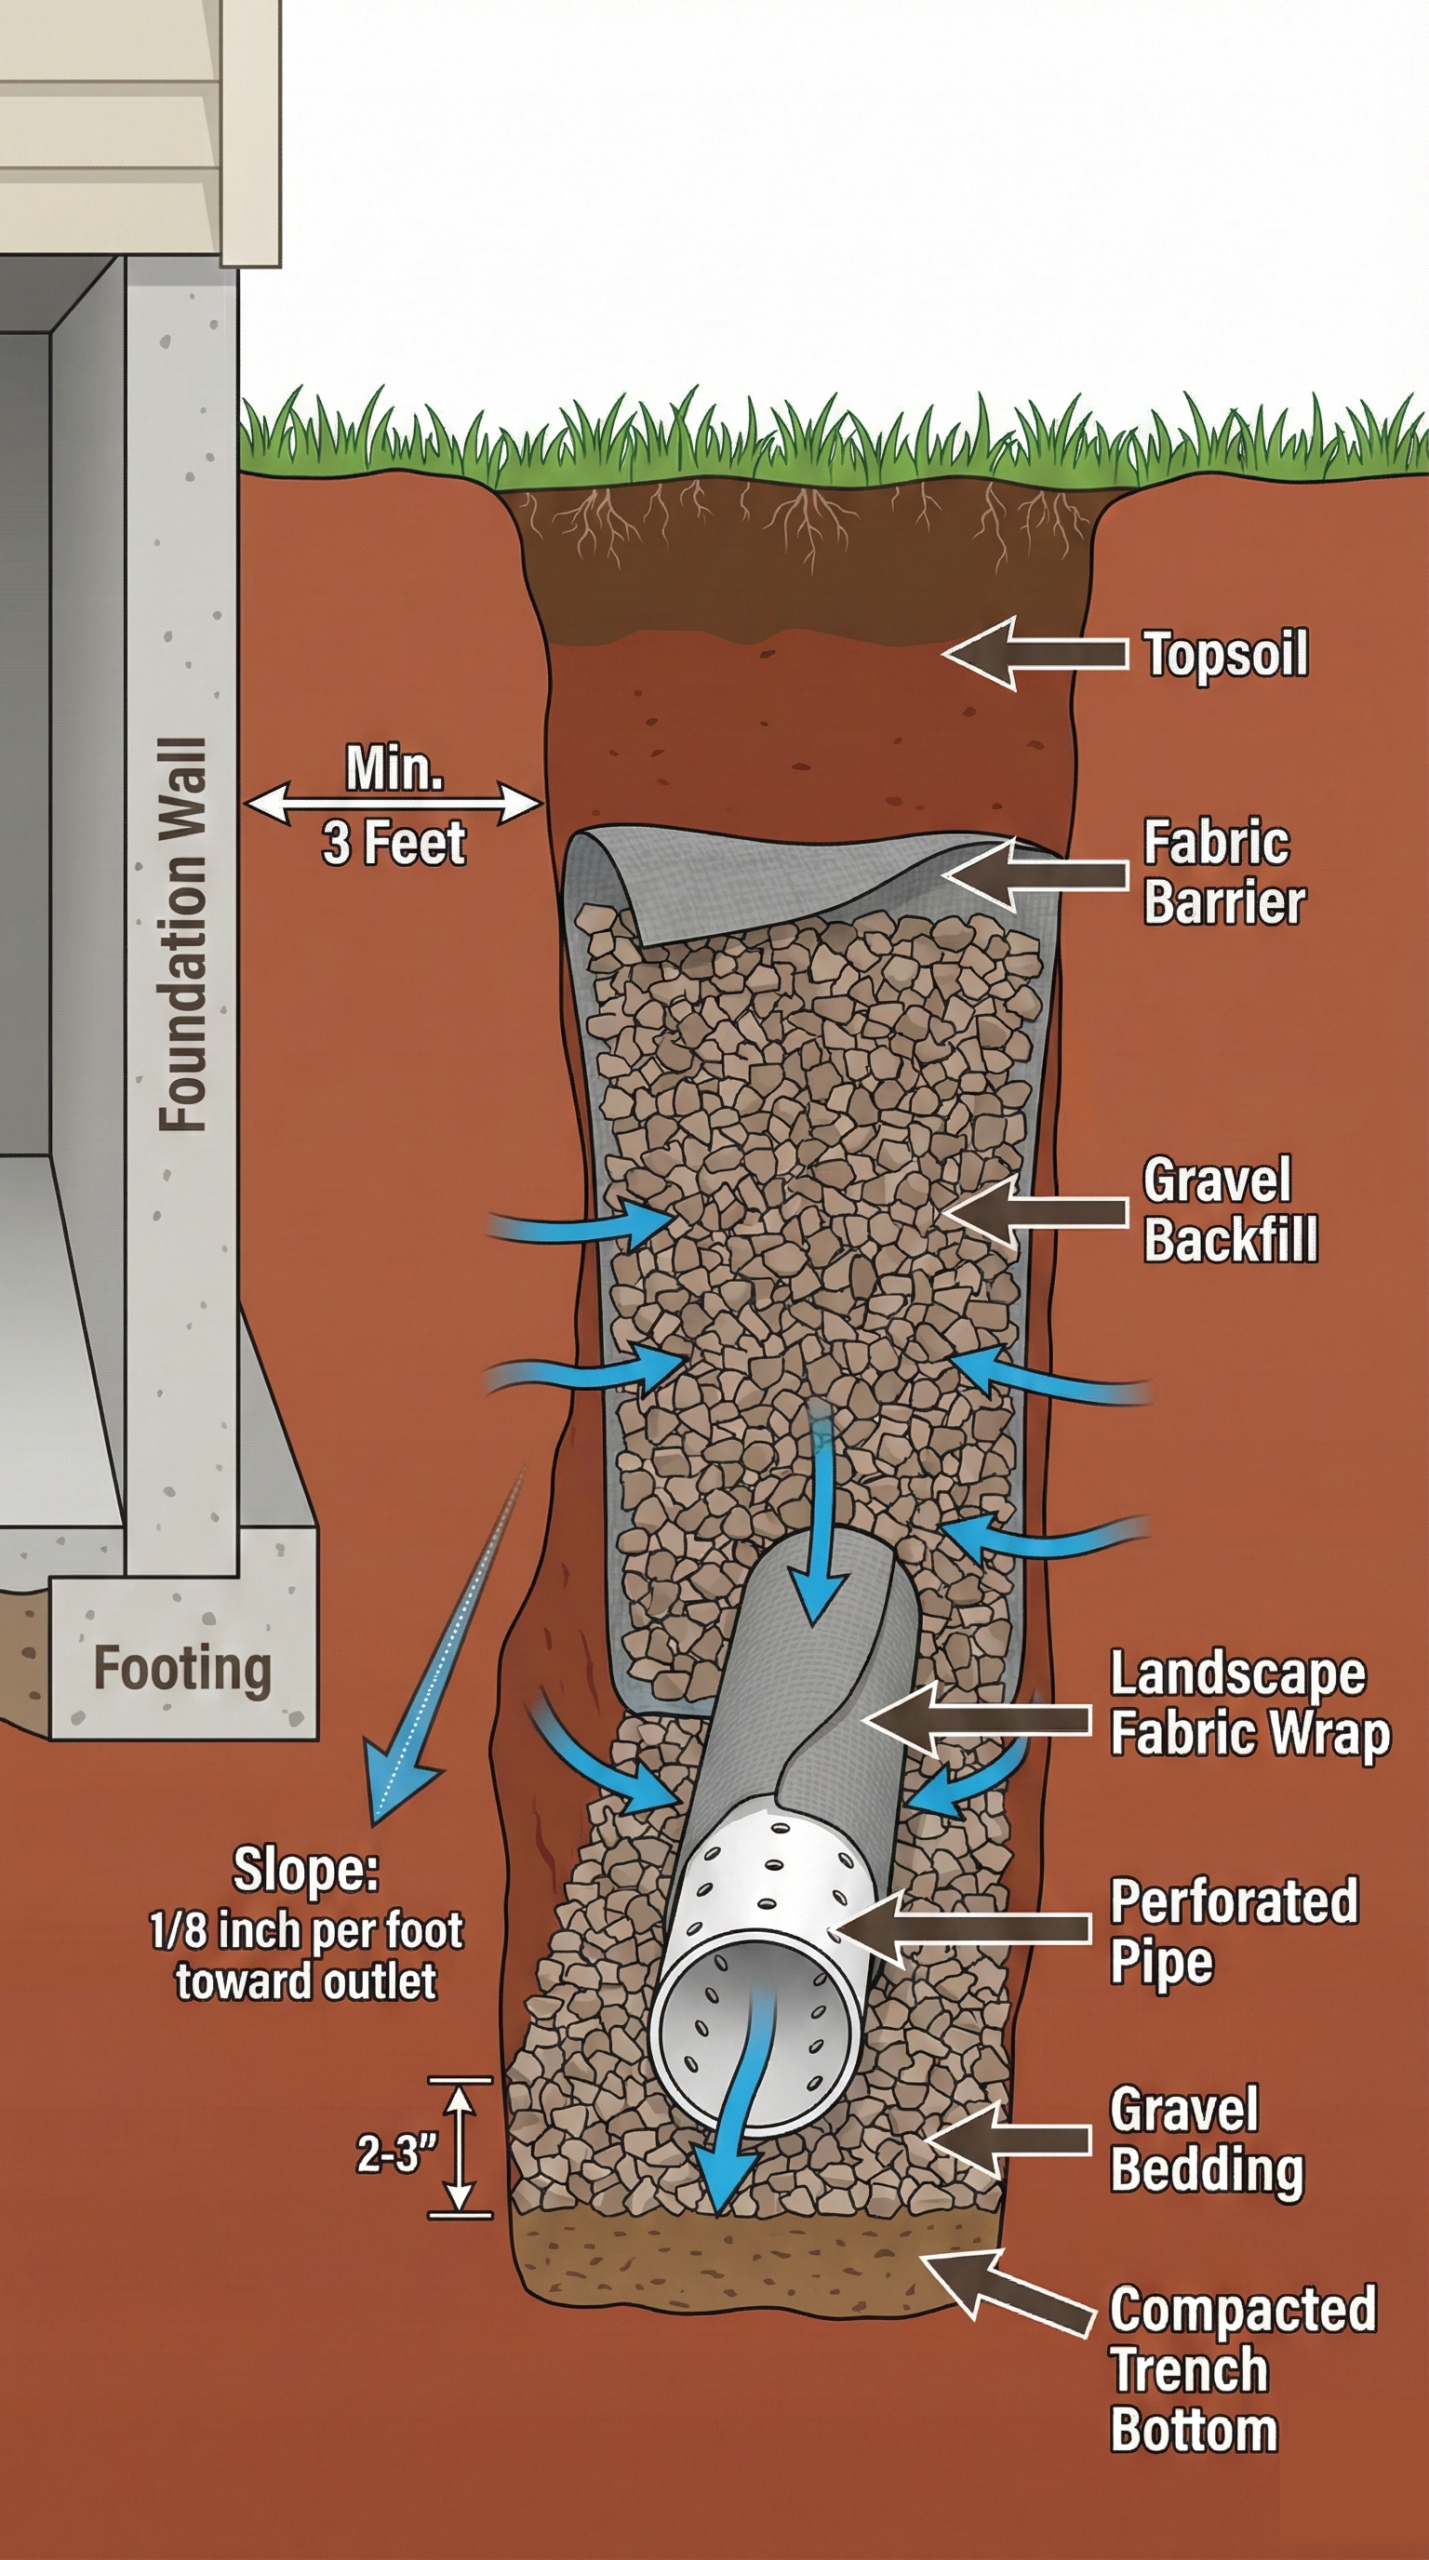
Walk the perimeter of your home and identify the low points where water collects. In Jackson’s Fondren neighborhood, we look for softened grass, moss, or efflorescence on foundation walls. Mark the trench line with spray paint or flags, keeping the drain at least 3 feet from the foundation wall and at or slightly below the footing depth, without undermining the foundation
Decide where the water will exit. Many residents in Madison County connect their French drains to the city’s storm sewer system through an approved connection point. However, if your property slopes naturally toward the street, the simplest and most cost-effective option is to discharge the line to a daylight outlet (discharging water above ground at a lower elevation) or other approved drainage point, in compliance with local municipal codes.
Step 2: Dig the Trench
The trench should slope 1/8 in. per foot (about 1 %) toward the outlet. For every 10 feet of trench length, the pipe should drop 1 inch in elevation. Use a level to check frequently. The typical depth for French drain installation is 12-18 inches below grade, deeper in areas with expansive clay or high water tables.
On one Brandon project, we rented a small trencher to speed up the process. Manually digging the entire 100‑foot run would have taken days.
Step 3: Prep the Bottom
Lay a 2 to 3‑inch layer of gravel along the bottom of the trench. This bedding helps water move and keeps the pipe from resting on compacted soil. If you encounter tree roots or rocks, remove them. Debris can puncture the pipe later.
Step 4: Position and Wrap the Pipe
Roll out the perforated pipe and cut to length. If you’re using a corrugated pipe, add a geotextile sock to prevent silt from entering. Encase the pipe in landscape fabric by laying the fabric on the trench, setting the pipe on top, and folding the edges over before backfilling. The fabric prevents fines (fine soil particles and silt) from clogging the gravel.
Using a level, check every 10 feet to ensure the pipe slopes downward consistently. Small, early adjustments save you from standing water later.
Step 5: Backfill With Gravel
Cover the pipe with more gravel until it’s 2-3 inches below the surface. Tamp it down lightly with a shovel handle or tamper. In Ridgeland soils, we prefer crushed stone that compacts less than pea gravel.
Step 6: Add a Final Layer of Fabric and Soil
Fold the landscape fabric over the gravel to create a barrier between the gravel and the topsoil. Backfill the rest of the trench with native soil, slightly mounded to accommodate settlement. Seed or sod over the trench to restore your yard.
Step 7: Connect the Outlet
Attach the drain to the existing storm system, dry well, or daylight. This connection must be watertight. Use PVC cement on joints and inspect for leaks. After we installed a 20-foot run to to an approved drainage outlet near the street, the homeowner reported that standing water from a recent thunderstorm had disappeared from his crawl space within minutes.
Get Expert Help With Your Drainage
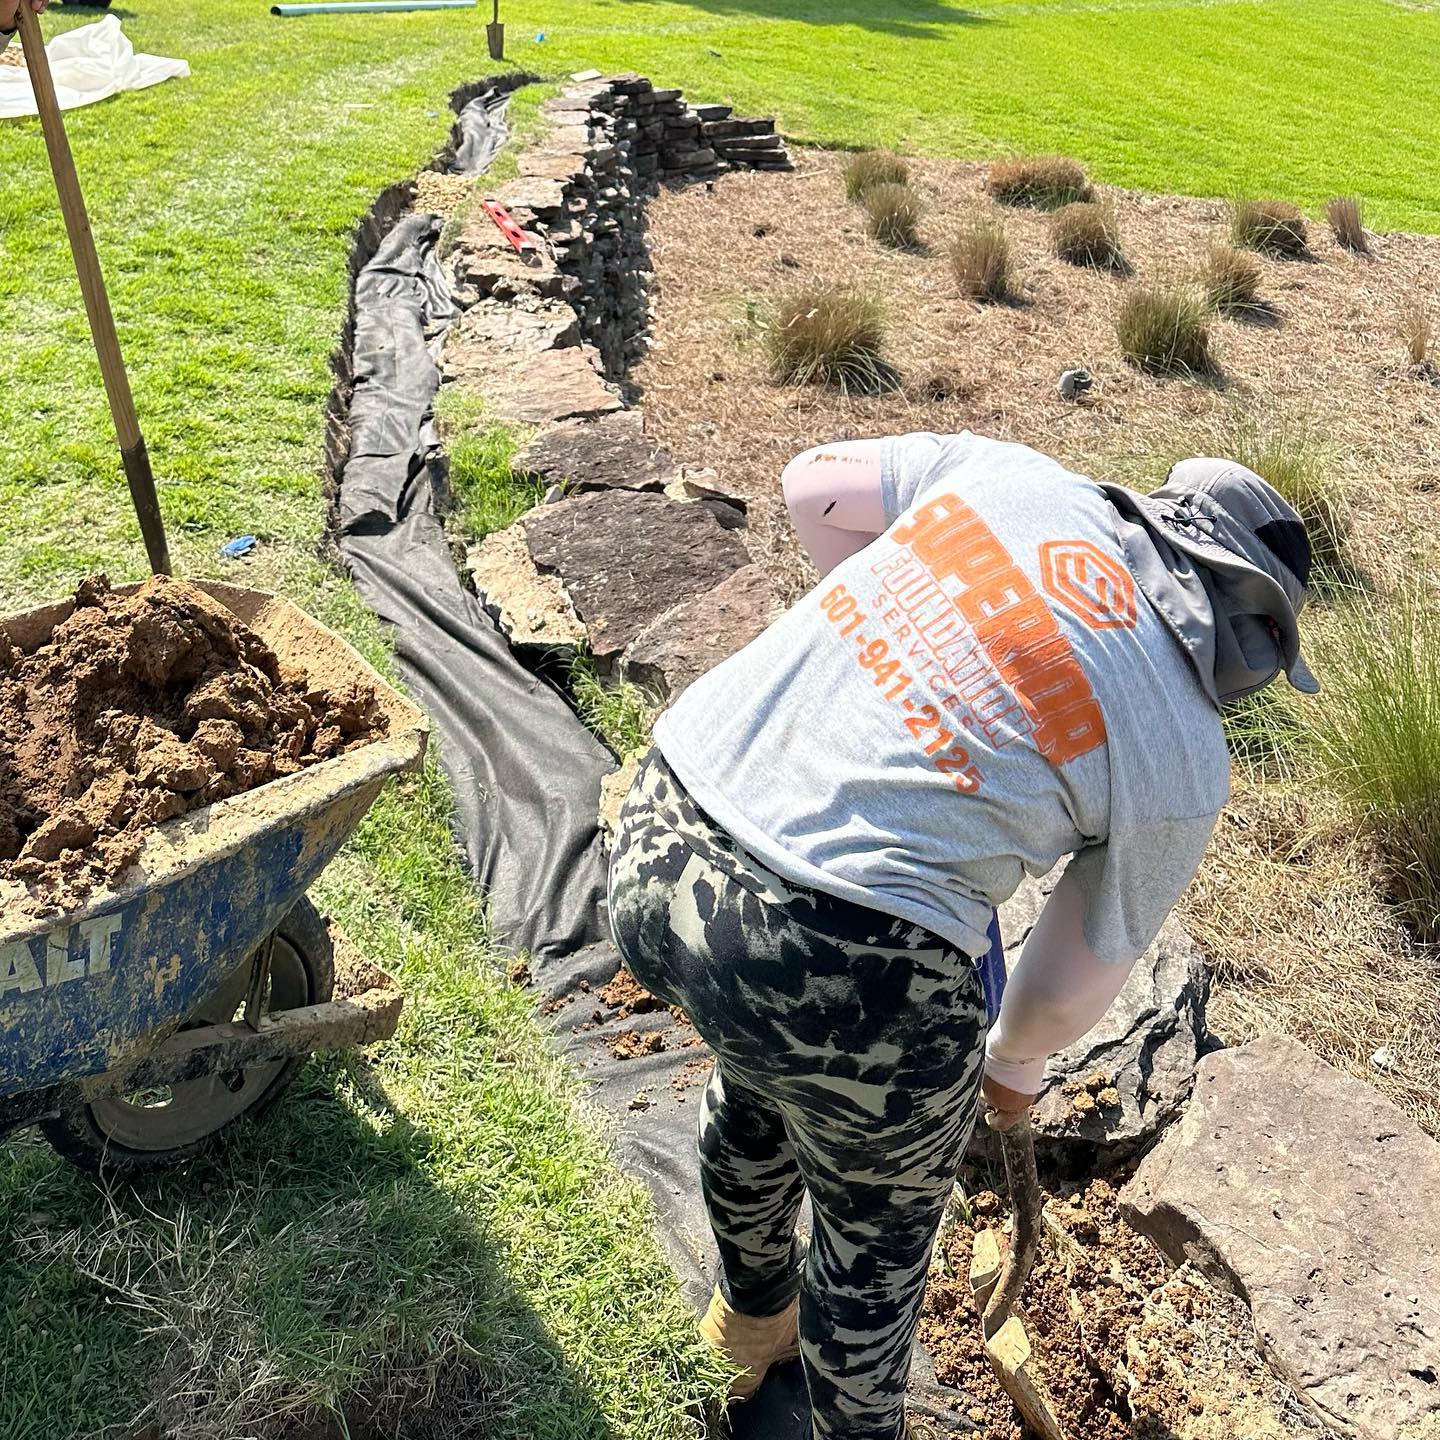
Armed with this knowledge, you’re ready to take on a French drain installation with confidence. But if you hit unexpected complications—bedrock, existing utilities, or signs of foundation movement—don’t hesitate to call for backup. Sometimes the smartest DIY decision is knowing when to bring in the professionals.
Consider hiring a contractor if your project involves runs longer than 100 feet, multiple directional changes, high-water-table areas, or if you simply want guaranteed results free from issues. Superior Foundation Services installs French drains alongside foundation repairs and guarantees proper drainage. We also inspect for shifted foundation piers, as positioning the drain correctly around any settled areas now prevents the need to relocate it later.
Contact us today to schedule your free consultation.